With the rise of Etsy shops and customized products, making printed products stand out is more important than ever. Whether it’s invitations, notebooks, planners, guest books, business cards, envelopes, or any other printed product; giving it a little extra ‘pop’ of foil can go a long way.
There are two ways to print foil onto designs; raised and flat. So which type do you use?
Add a Little Dimension
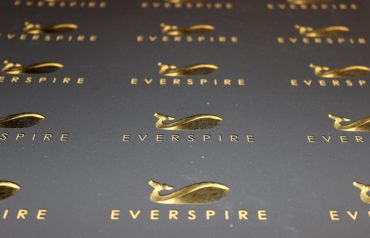
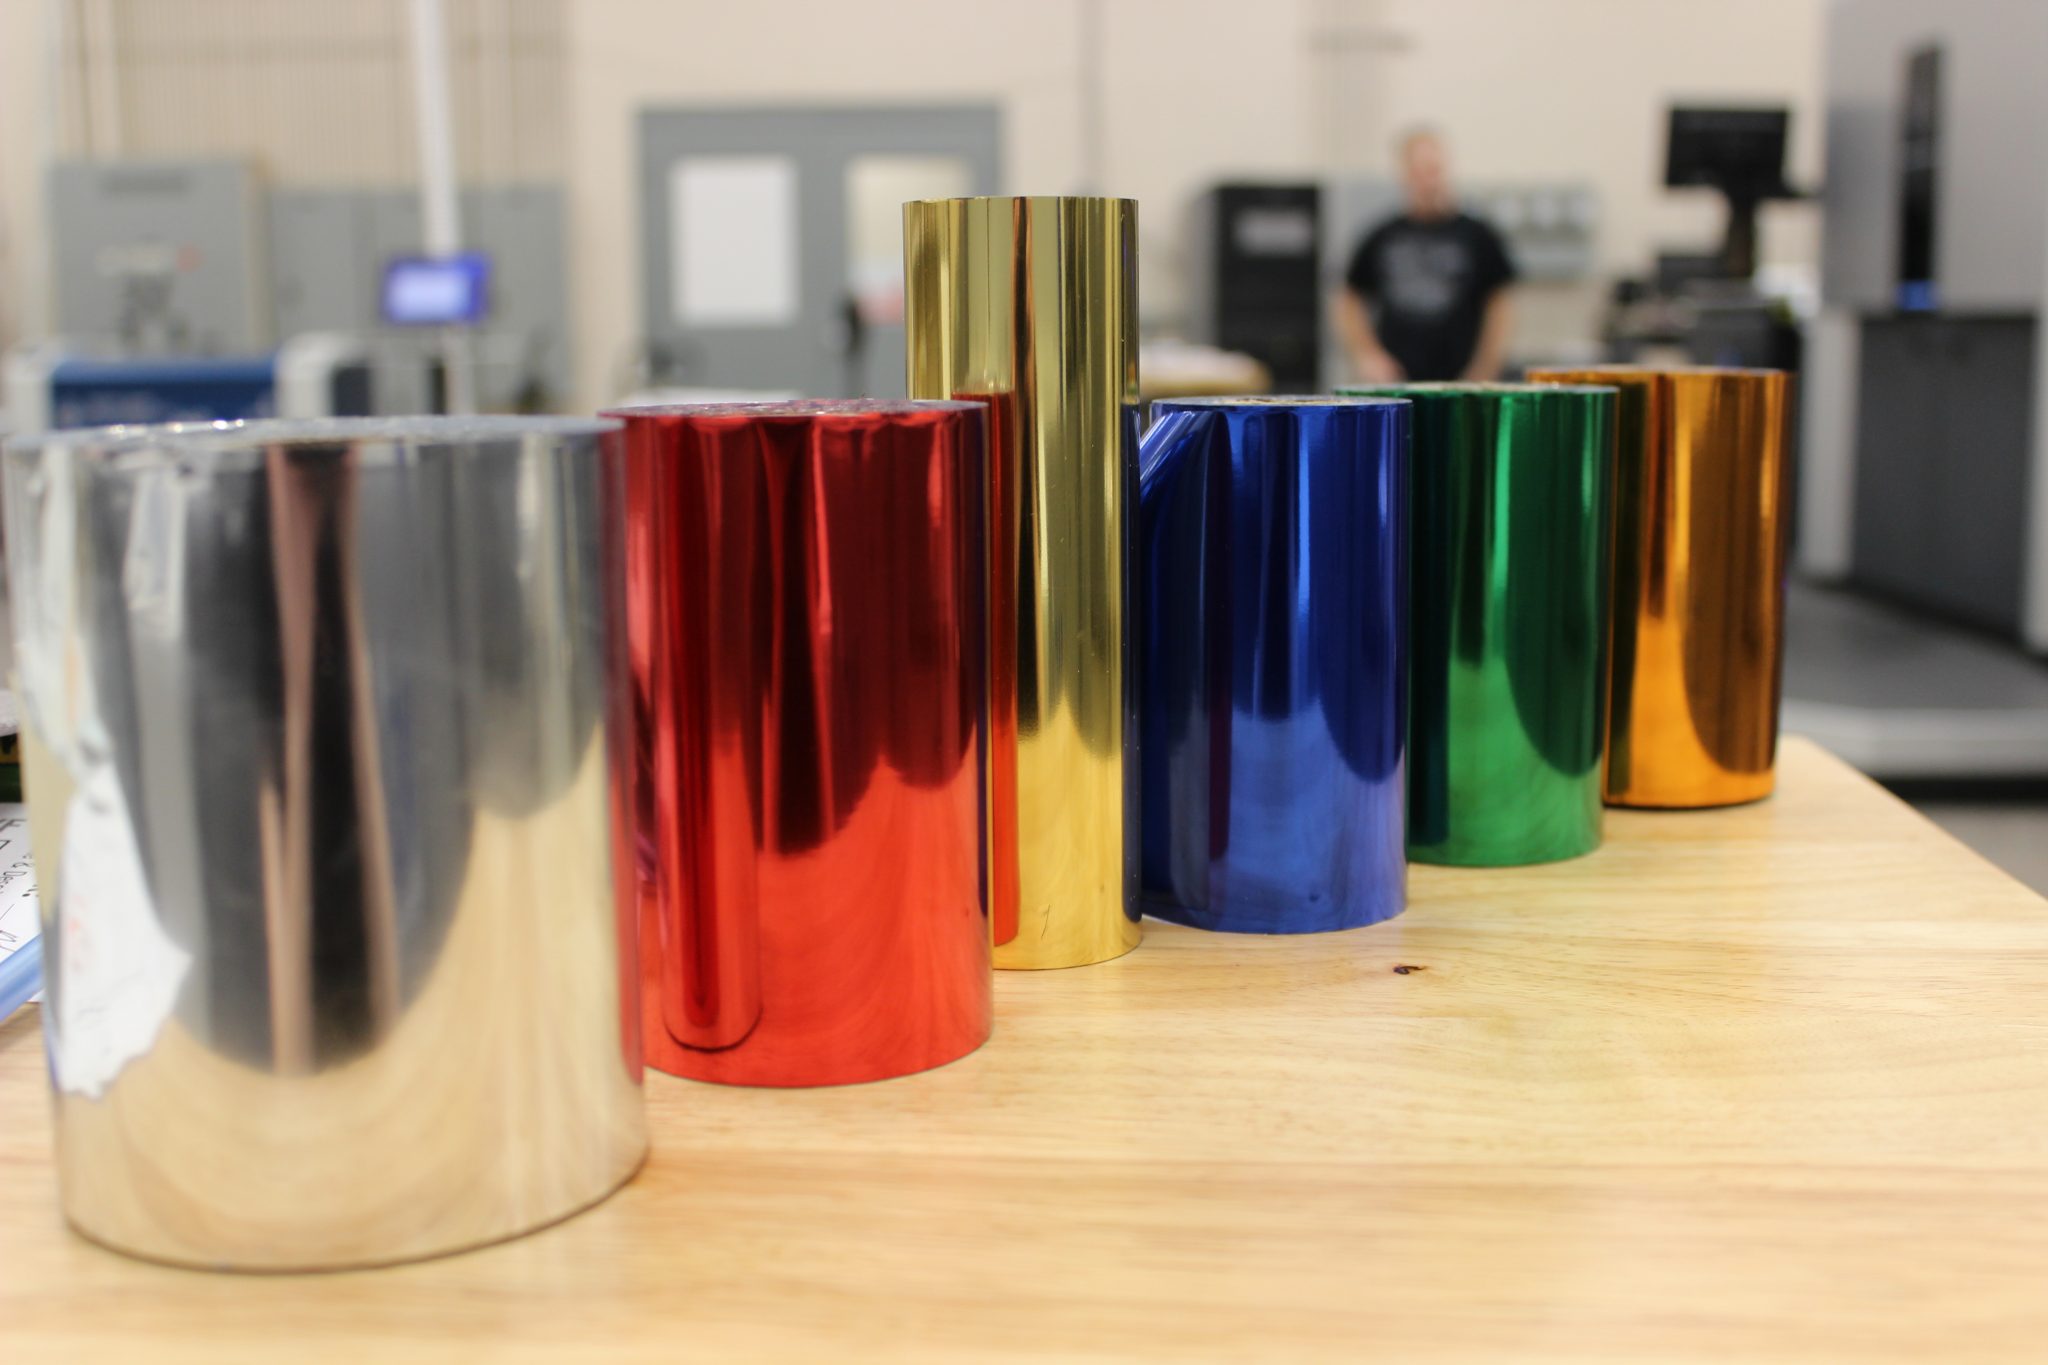
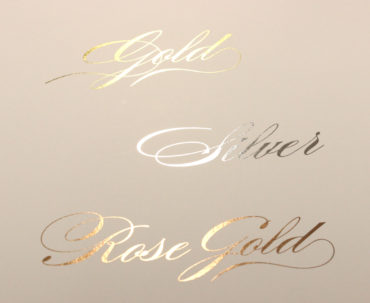
To begin lets break down raised foil. We utilize our MGI Jet Varnish 3D printer. It adds raised foil designs without the dyes or screens that older processes require. It’s all digital. Making it cheaper and more convenient. And as the name implies it creates a beautiful 3-dimensional touch to products. Because you can see and feel the foil and varnish on the products it creates a lasting impression. To make printing with foil even better, we have multiple color options to choose from. Making it that much easier to match your branding.
Keeping it Smooth
Flat foil is exactly how it sounds; smoother and flatter while still adding a beautiful sheen. To create a flat foil print, first, we print the design through our Indigo printers with a black ink, similar to a marker. Next the print is fed through the MGI, which lays a thin layer of foil over the black ink. Because there is no varnish cover it lies almost perfectly smooth with the product’s surface. Even without the added texture flat foil still adds the perfect little pop. And it can be done in all the same color options as the raised version!
If you want to learn how to prepare files for foil you can learn from our creative director who will walk you through the preparation process in this blog post. Once you’re done be ready for stunning products with the perfect finishing touches to their designs.